
Last updated November 14, 2026
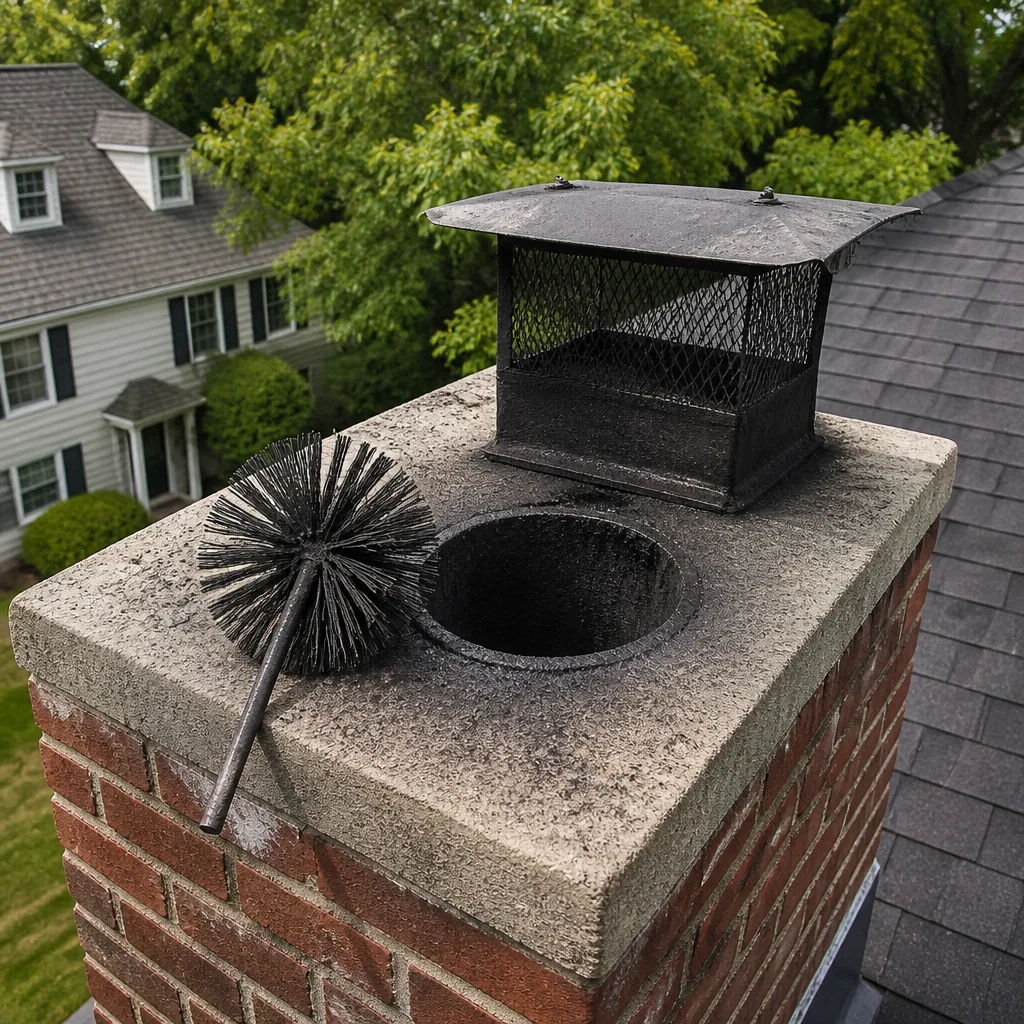 Sweep & inspection
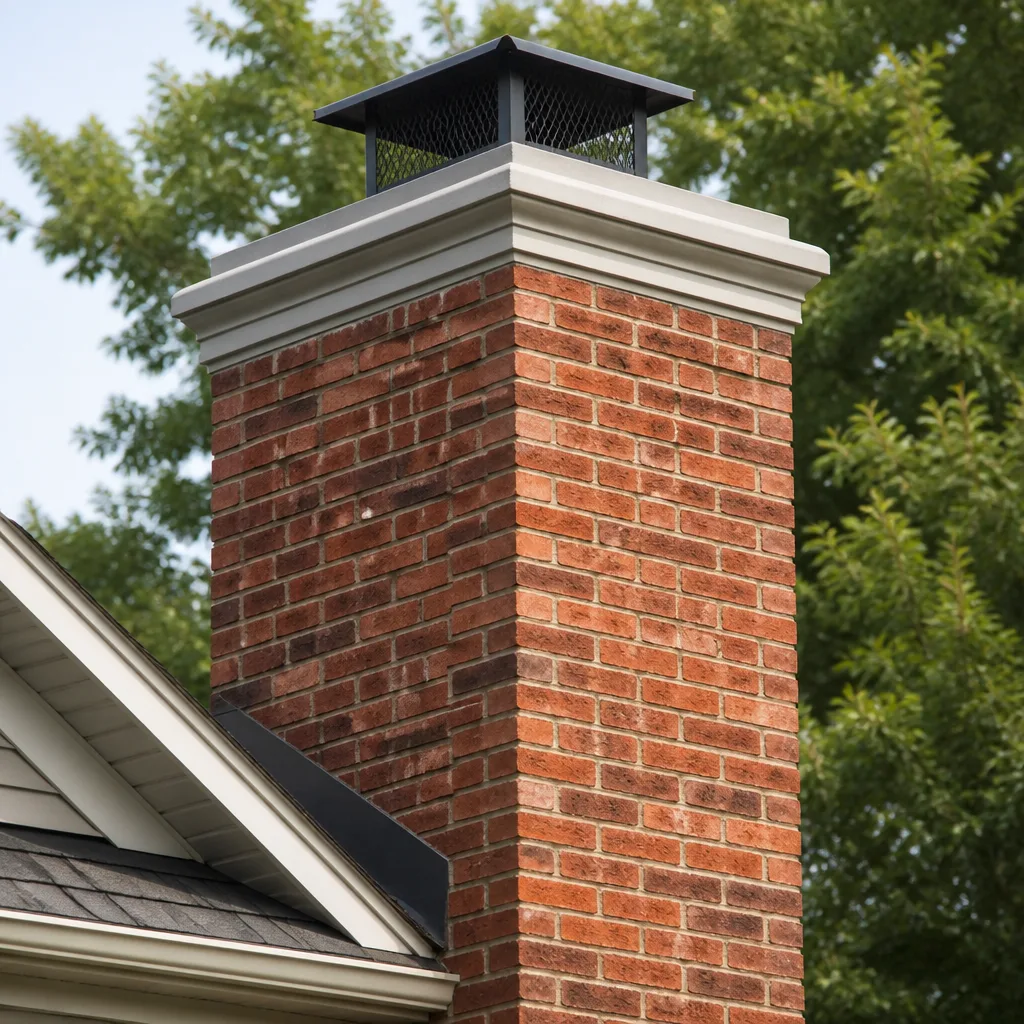 Caps & crowns
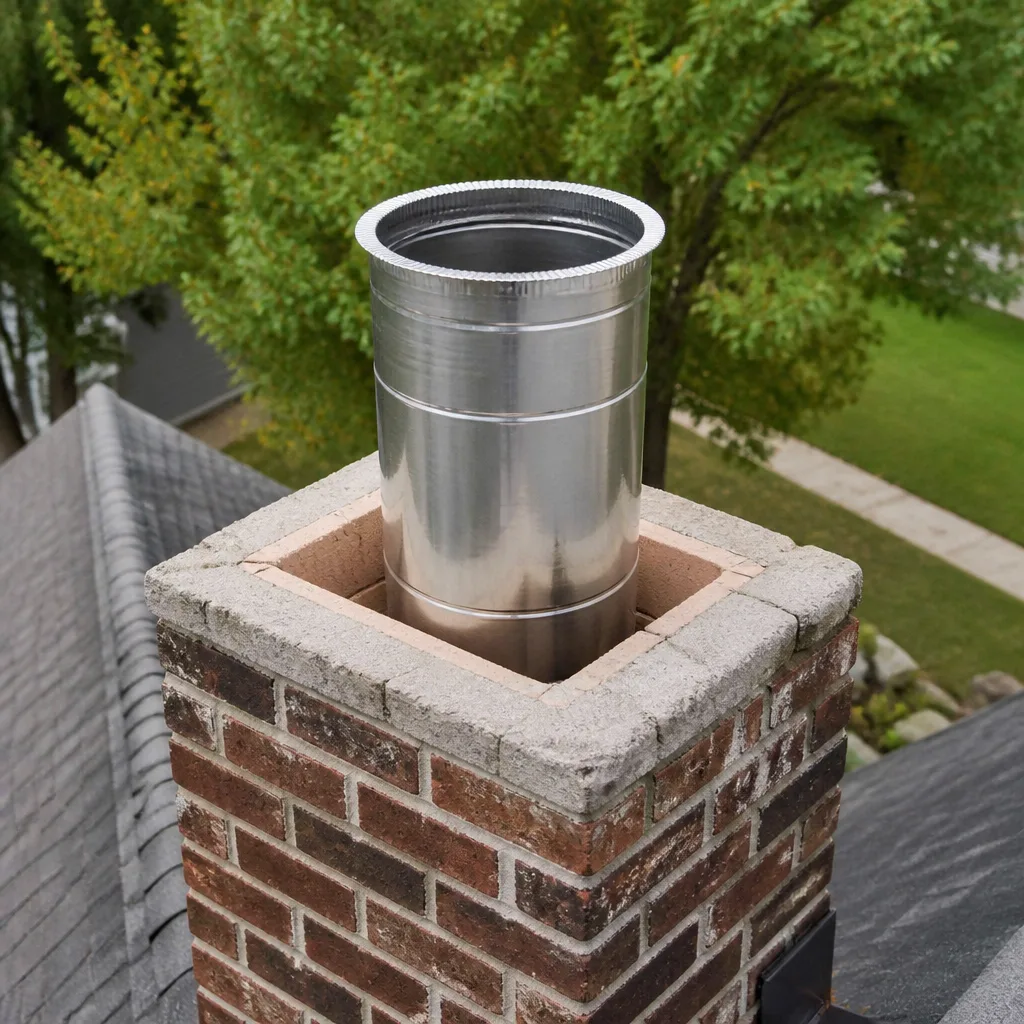 Flue relining
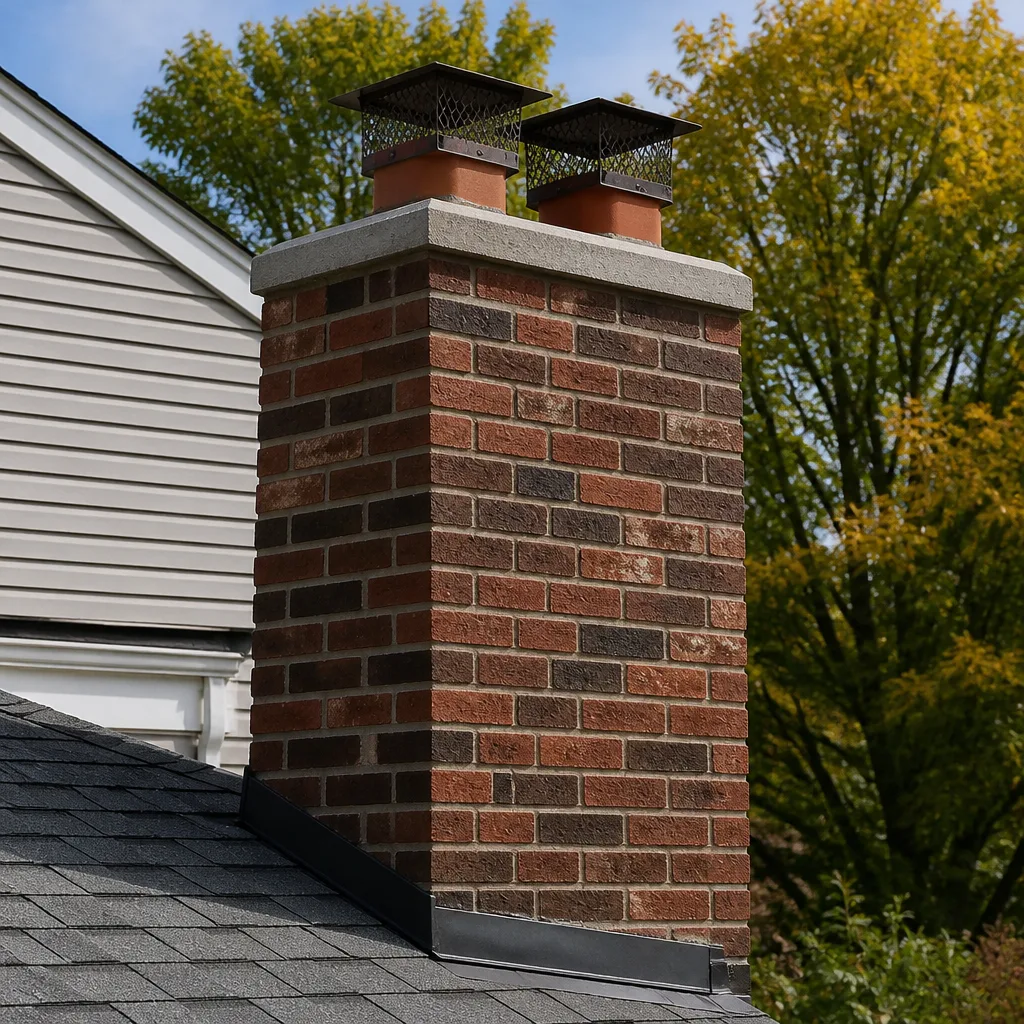 Masonry repair
 Gas fireplace service
Level 1 sweep and inspection to the NFPA 211 annual standard - flue, crown, cap, and flashing checked and photographed
Chimney sweep logs do not sweep chimneys. They loosen some creosote - which then falls where a brush and vacuum still have to collect it.
DIY vs Professional Chimney Cleaning: The Meridian Homeowner’s Decision Guide
A brush and a drop cloth won’t remove Stage 2 creosote. That’s the part most DIY guides leave out. If you’ve been burning through Meridian winters and figure a Sunday afternoon with a rented brush gets you to the same place as a professional sweep, the gap between those two outcomes is sitting in your flue right now: a glazed, tar-like layer that bonds to the tile and laughs at nylon bristles. This guide lays out exactly when DIY brushing is genuinely fine, when it quietly fails, what the equipment actually costs, and the parts of chimney care you should absolutely handle yourself.
Quick Answer
DIY chimney brushing is reasonable only when your flue is straight, your liner is sound, and your deposit is light Stage 1 soot you can see and reach. Once you’re dealing with Stage 2 glazed creosote, an offset or transition flue, a prefab system with its own cleaning rules, or any doubt about what you’re looking at, professional cleaning is the safer and ultimately cheaper call. In Meridian, where wood burning runs hard from late fall into early spring, most flues that haven’t been swept in a season or two land in the professional category.
Styles & brands we work with
- Sweep & inspection
- Caps & crowns
- Flue relining
- Masonry repair
- Gas fireplace service
Table of Contents
- The three stages of creosote and why only one is DIY-safe
- What you’d actually need to replicate a professional sweep
- Chimney configurations where DIY gets risky
- The inspection gap: seeing vs. guessing
- Liability and insurance when you self-certify
- The legitimate DIY role between professional visits
- What Meridian’s climate and housing stock mean for your flue
- DIY vs professional: an honest cost comparison
What Are the Three Stages of Creosote, and Which One Can You Actually Brush Out?
Creosote forms in three distinct stages, and only the first one responds to ordinary brushing. Understanding the difference is the whole ballgame when you’re deciding between DIY and a professional sweep.
Stage 1 creosote is the light, flaky, soot-and-ash deposit you’ll see after a season of reasonable burning. It looks like gray-black powder or thin crust. A stiff chimney brush removes it well, because it hasn’t bonded to the flue surface. This is the stage where a careful homeowner with the right brush and a clean flue can genuinely do the work.
Stage 2 creosote is where DIY stops working. It’s a hardened, glazed, tar-like layer that clings to the tile and won’t budge under bristles. It forms when flue gases cool before they exit, depositing unburned volatiles on the walls. Stage 2 requires chemical treatment and mechanical agitation, typically a rotary system with specialized creosote-dissolving compounds. This is the layer that fuels chimney fires, and it’s the single most common reason a DIY sweep leaves a flue that looks clean but isn’t.
Stage 3 creosote is the worst case: a thick, hardened, sometimes puffy mass that has built up to the point of restricting the flue. It’s a serious fire hazard and requires professional removal, sometimes with substantial mechanical effort and occasionally partial reconstruction if the deposit has damaged the tile.
In our experience across Meridian, the winter burn pattern matters enormously. Homeowners who burn well-seasoned wood in a hot, efficient fire tend toward Stage 1. Homeowners who burn green wood, damp wood, or run the fire cool and smoldering tend toward Stage 2 faster than they expect. If your glass doors are blackening quickly and your fires smoke at startup, that’s a signal the flue is running cool, and that’s a Stage 2 setup.
What Equipment Would You Actually Need to Match a Professional Sweep?
A brush on a rod is not a chimney sweep. Here’s what a professional setup includes, and what it costs a homeowner who wants to replicate it:
- Chimney brush set, head and rods – $80 to $200 depending on flue size; you need the correct head diameter, not a “close enough” one, or you’ll miss the corners and scratch the tile.
- Inspection camera – $150 to $600 for a usable articulating camera on a reel; a phone on a selfie stick won’t show you the smoke shelf, the damper frame, or a cracked tile joint 12 feet up.
- HEPA vacuum with chimney-rated filtration – $200 to $500; a shop vac will redistribute fine soot through your house.
- Chemical rotary system for Stage 2 – $400 to $900 for the rotary head, whip, and creosote-dissolving compound; this is the genuine professional tool for glazed deposits.
- Drop cloths, containment plastic, respirator, eye protection, extension ladder – $150 to $300 all in.
Add it up and you’re looking at $1,000 to $2,500 to assemble a kit that, used once, sits in your garage for a year. A professional sweep carries all of it, uses it weekly, and knows what they’re looking at. That distinction matters most with the cleaning compounds and rotary systems: knowing which compound to use on which deposit, and how much agitation the flue tile can take before you damage it, is where experience lives.
Our technicians have up to 15 years of experience reading flues, and the tool that comes out of the bag is always chosen after the inspection camera has been up the flue, never before. That sequence, inspect then clean, is the part a DIY kit can’t replicate at home.
Which Chimney Configurations Make DIY Most Risky?
Three configurations account for most of the DIY chimney cleaning problems we see in Meridian:
Offset flues. A chimney that steps sideways partway up the chase is common in older ranch homes and additions. The offset creates a pocket where creosote collects on a shelf. A straight brush on a straight rod passes right by that pocket. Professional sweeps use flexible rods and heads sized to sweep around the offset without damaging the bend. They also know to inspect the offset joint, because that’s where cracks develop first.
Liner transitions. Anywhere a clay tile liner changes size, meets an insert collar, or connects to a flexible liner, there’s a transition. These are the spots where creosote bridges, where the brush can snag and tear, and where a homeowner’s touch is too heavy. Flexible liner systems such as those from DuraFlex are designed for exactly these complex, non-standard, aged flue shapes that rigid liner installers can’t handle, and knowing how to clean around a transition without damaging the liner is a professional skill.
Prefab or factory-built fireplaces. These systems come with manufacturer-specific cleaning requirements. Some prefab flues have delicate inner liner surfaces that a standard brush can scar. Some have specific brush-type requirements. Every prefab fireplace has a data plate that states what’s allowed, and self-cleaning one without reading and following that data plate is a genuine risk to the system’s integrity and to your insurance position.
If your chimney is a straight vertical run of sound clay tile, you probably can brush it. If it has any one of those three features, the DIY case weakens considerably.
The Inspection Gap: What a Brush Misses That a Camera Sees
The most important difference between a DIY sweep and a professional one isn’t the cleaning. It’s the inspection. A brush removes deposit. A camera finds the problems the deposit was hiding.
Here’s the professional sequence, in order:
- Assess the firebox and damper from below.
- Run a camera up the flue to record the condition of the tile, the joints, any offset, and the flue cap.
- Sweep the flue with the brush or rotary system chosen for the deposit found.
- Re-run the camera to confirm the flue is clean and to check for cracks the cleaning revealed.
- Inspect the cap, crown, and exterior at the top of the chase.
- Document the findings and photograph the results.
Step 2 is the one that matters most. The problems that cause chimney fires and carbon monoxide events, cracked tiles, separated joints, damaged liners, missing cap screens, are typically invisible from the firebox. A homeowner can sweep a flue perfectly and never know there’s a crack in a tile joint twelve feet up. That crack lets heat and gases into the wood framing the chase. That’s the call a professional inspection is designed to make. It’s also why we don’t recommend any repair, liner, or resurfacing work without camera evidence you can see for yourself. The job is to tell you what’s actually there, not to sell you work you can’t verify.
When the camera does find a hairline crack or an eroded tile joint, the repair options have improved. HeatShield ceramic flue restoration resurfacing can address damaged tile without a full liner tear-out, which is a middle path most sweep-only companies can’t offer. It requires trained application and the right product, which is why access to professional-grade materials from HeatShield, Gelco, Olympia Chimney, and Famco matters for a full resolution rather than a quote-and-return-in-three-weeks outcome.
What Happens If You Self-Certify Your Chimney and Something Goes Wrong?
This is the question nobody wants to ask, but a fire investigator will ask it for you. If a chimney fire or a carbon monoxide event occurs after you’ve cleaned your own flue, your insurance company will want to know who cleaned it and when, and what record exists.
A professional sweep provides documentation: date, findings, camera record, and confirmation of what was cleaned. That record goes into your file and satisfies an adjuster that maintenance was handled. A DIY sweep provides a memory, at best.
There’s a harder issue. Some insurance policies include conditions about professional maintenance and inspection of solid-fuel appliances, and most don’t consider a homeowner’s own cleaning to satisfy those conditions. We won’t tell you exactly what your policy says, because we don’t know your policy, and neither should you take it from anyone but your insurer. What we will say is that a written professional record removes a whole category of argument after the fact, and that argument is expensive. For a homeowner heating with wood in Meridian, where the heating season is long and the flue works hard, the documentation itself has real value.
The self-certification problem is also a technical one. Once you’ve swept the flue, you’re certifying not just that it’s clean but that it’s safe, that the liner is intact, that the joints are sound, that the cap is secured, and that no creosote remains where you can’t see it. Without a camera, that certification isn’t something you can honestly make. This is a duty of care more than a legal one, but it’s the reason professional sweeps photograph their findings and leave the record with the homeowner.
What Can You Legitimately Do Yourself Between Professional Sweeps?
Quite a lot, actually, and we’d rather you did it. The maintenance between professional visits is a homeowner’s business, and these tasks catch small problems before they become expensive ones. None of them involve putting a hand inside the flue. All of them take five minutes.
- Cap check. From the ground with binoculars, or from a safe ladder position if you’re already comfortable up there, confirm the flue cap is intact, secured, and free of debris or bird nests. A missing or displaced cap is how water, animals, and leaves get in.
- Damper test. Open and close the damper by hand. It should move freely and fully. A sticking damper can leave your home pressurized with smoke instead of drafting up the flue, and a closed damper on a hot fire is a carbon monoxide problem waiting to happen.
- Firebox visual inspection. With the fire cold and ashes cleared, look at the brick or refractory panels for cracked or missing pieces, and look at the firebox floor for gaps. Any visible crack should go on the list for your next professional visit.
- Burn-quality awareness. Note whether glass doors blacken quickly, whether fires smoke at startup, and how the fire draws. These observations are the difference between light Stage 1 soot and the glazed Stage 2 buildup, and your sweep needs to hear them.
- Ash level. Keep the ash bed managed. Deep ash beds reduce combustion efficiency and add to the deposit load.
This is the honest role of DIY in chimney care: you’re the first line of observation, not the cleaning crew. You watch the flue and the appliance between visits, and you pass what you see to someone with a camera. That division of labor is how chimney sweep visits become genuinely productive rather than a quick brush-and-go.
What Does Meridian’s Climate and Housing Stock Mean for Your Flue?
Meridian’s heating season starts earlier and runs longer than a lot of homeowners expect when they move here from milder climates. That extended burn window is the single biggest factor in what accumulates in a flue between cleanings.
The local climate runs cold and often dry, with long stretches where the fire is going every day from morning to night. Wood moisture matters more here than in a shorter season, because every damp load compounds the deposit problem across the whole winter. Firewood that isn’t properly seasoned going into a burn season is a Stage 2 creosote generator, and a lot of Meridian homeowners are learning that the hard way after their first winter.
The housing stock matters too. Meridian has a wide mix of homes: older ranch homes with masonry fireplaces and clay-tile liners, newer builds with prefab and insert installations, and a fair number of homes with offset chases that were added or modified over the years. We see all three configurations regularly, and each one has its own cleaning and inspection demands. A newer Meridian build with a factory-built fireplace is not the same cleaning job as an older home with a 40-year-old clay tile flue. The right approach follows the system, not a standardized checklist. That’s the difference between a flue that looks clean and a flue that’s actually safe, and it’s the reason we read the fireplace’s data plate and inspect the configuration before choosing a brush or compound.
The other fire hazard in your home deserves equal attention. Lint buildup in a dryer vent is a genuine fire risk, and it accumulates the same way creosote does, out of sight and overlooked until it matters. dryer vent cleaning uses many of the same safety standards as chimney work, and it’s worth including in the same annual maintenance conversation rather than treating as an afterthought.
DIY vs Professional: An Honest Cost Comparison
Here’s the comparison without either side softened. The professional column includes the inspection and documentation, which the DIY column can’t match even with a full kit.
| Item | DIY (one-time kit cost) | Professional sweep |
|---|---|---|
| Basic brush and rods | $80-$200 | Included |
| Inspection camera | $150-$600 | Included in every visit |
| HEPA vacuum and containment | $200-$500 | Included |
| Chemical rotary system for Stage 2 | $400-$900 | Brought as needed, at the right strength |
| Safety gear and drop cloths | $150-$300 | Included |
| Inspection and photo documentation | Not possible at home | Standard on every visit |
| Liability record | None | Written record for your file |
The honest reading: a homeowner assembling a proper kit spends more on equipment than a professional sweep costs, and still can’t produce the inspection record. The DIY case isn’t about saving money. It’s about whether the flue is simple enough and the deposit light enough that the brush-and-rod approach is genuinely adequate. For a straight clay-tile flue with light Stage 1 soot, it can be. For everything else, the professional sweep is the cheaper answer over time, because it catches the cracked tile and the missing cap before they cost real money.
Professional sweeps are priced per job by written estimate, and the estimate should be provided before any work begins. Ask for the estimate, and ask what the inspection includes. That tells you what kind of sweep you’re getting.
Common Mistakes to Avoid
- Brushes the flue, skips the camera. A clean-looking flue isn’t a safe flue. Without a camera, you can’t see the cracked tile or separated joint that a chimney fire will exploit. Every professional sweep inspects before and after.
- Burns damp or green wood to save on firewood. It’s the most common Stage 2 trigger we see in Meridian. Seasoned wood costs a little more up front and saves a lot in deposit removal later.
- Removes a bird nest or debris without a cap in place. If there’s no cap, the next bird moves in. Inspect the cap, and if it’s missing or damaged, replace it. Caps and dampers from Famco and Copperfield cover this in a single visit.
- Assumes a prefab fireplace cleans like a masonry one. Factory-built units have manufacturer-specific requirements, and using the wrong brush can damage the inner liner. The data plate isn’t decorative.
- Treats a DIY sweep as an inspection record. Your insurer won’t. A written record with photos is what makes the difference after a fire or CO event.
- Ignores the dryer vent while focusing on the chimney. Lint fires are real, and they start the same way creosote does: with buildup nobody looked at. Both belong on the annual list.
- Assumes same-day service means skip the appointment. A booked sweep with a proper inspection is worth waiting for. Rushing the process is how problems get missed.
See the difference
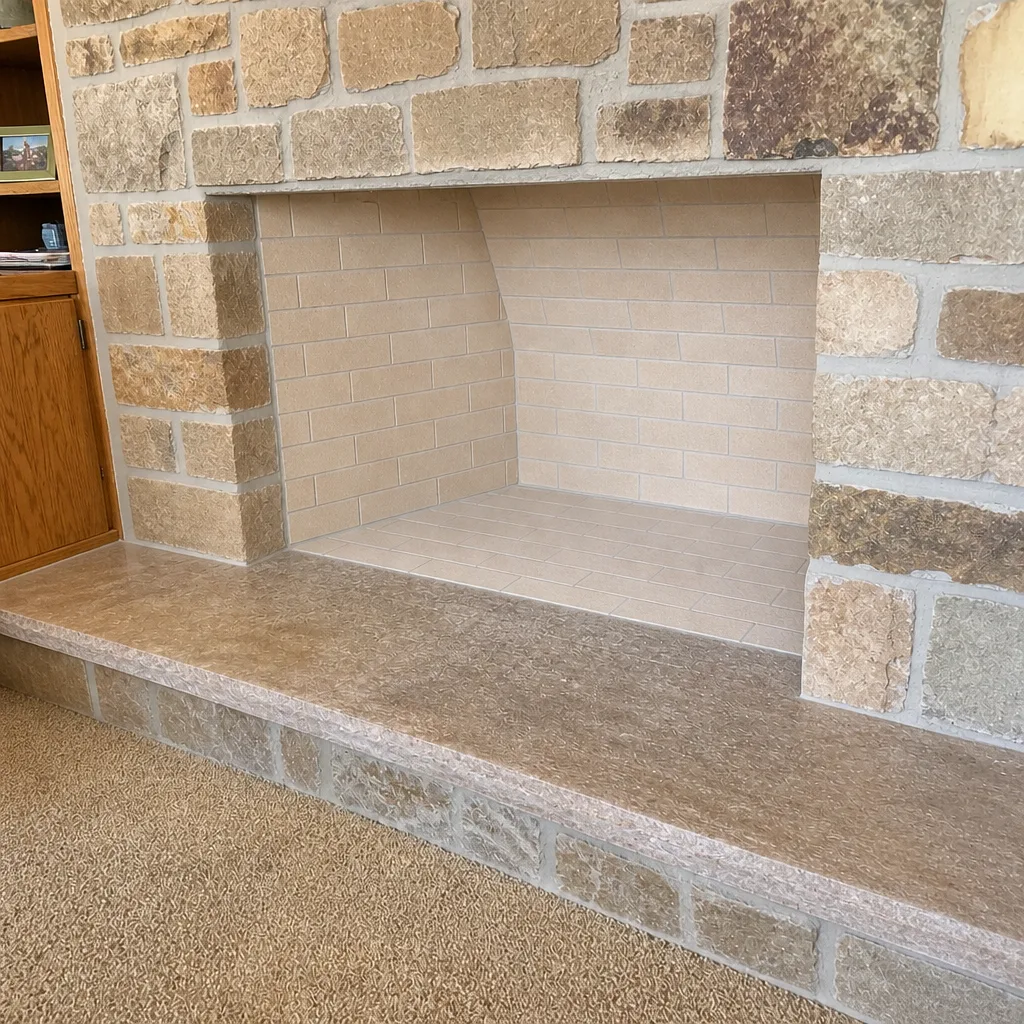
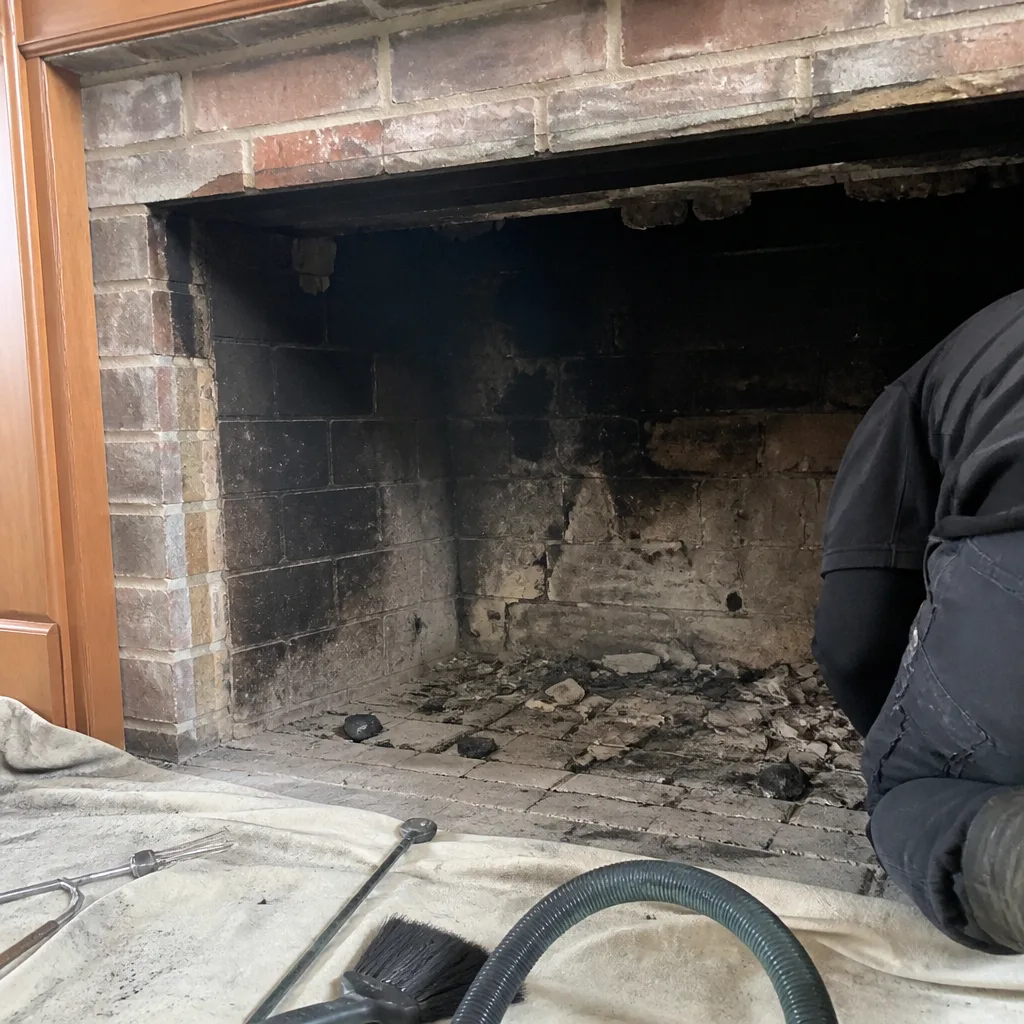 Before
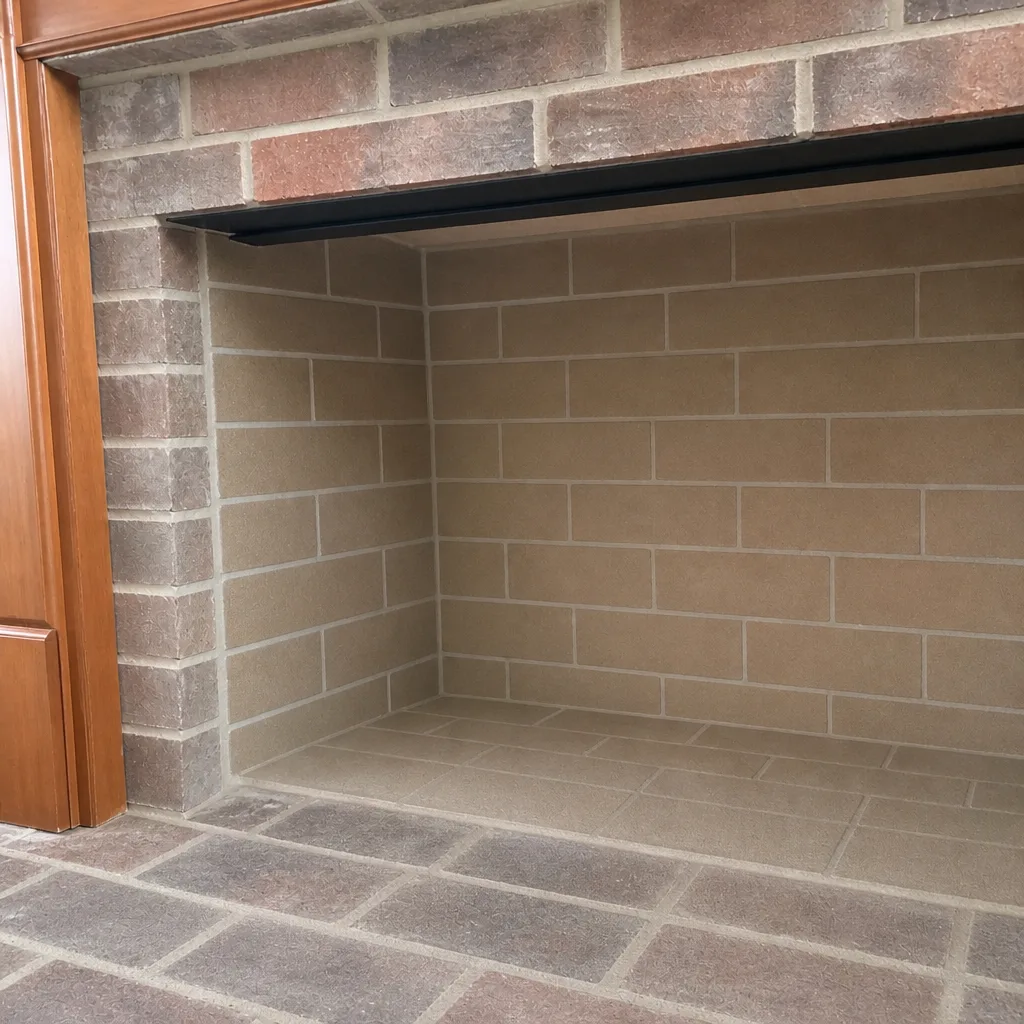 After
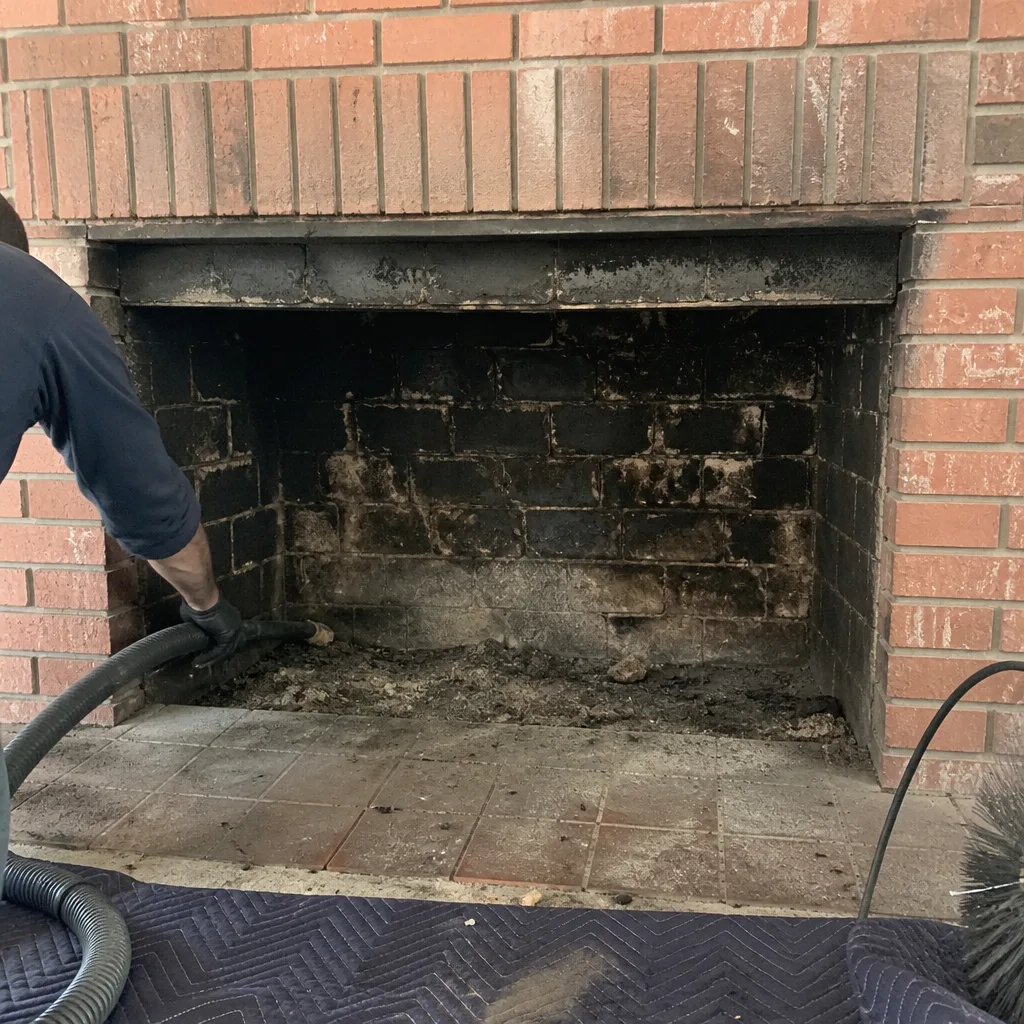
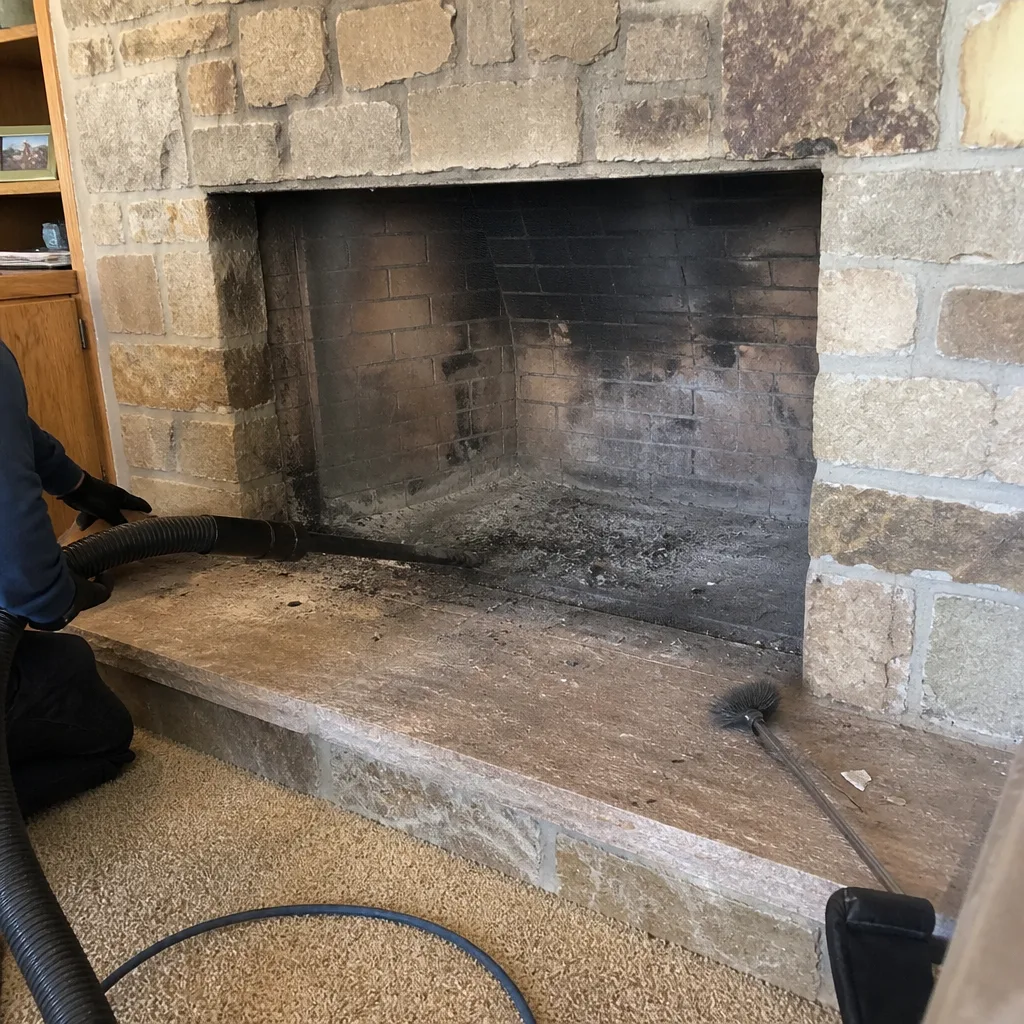 Before
 After
 Before
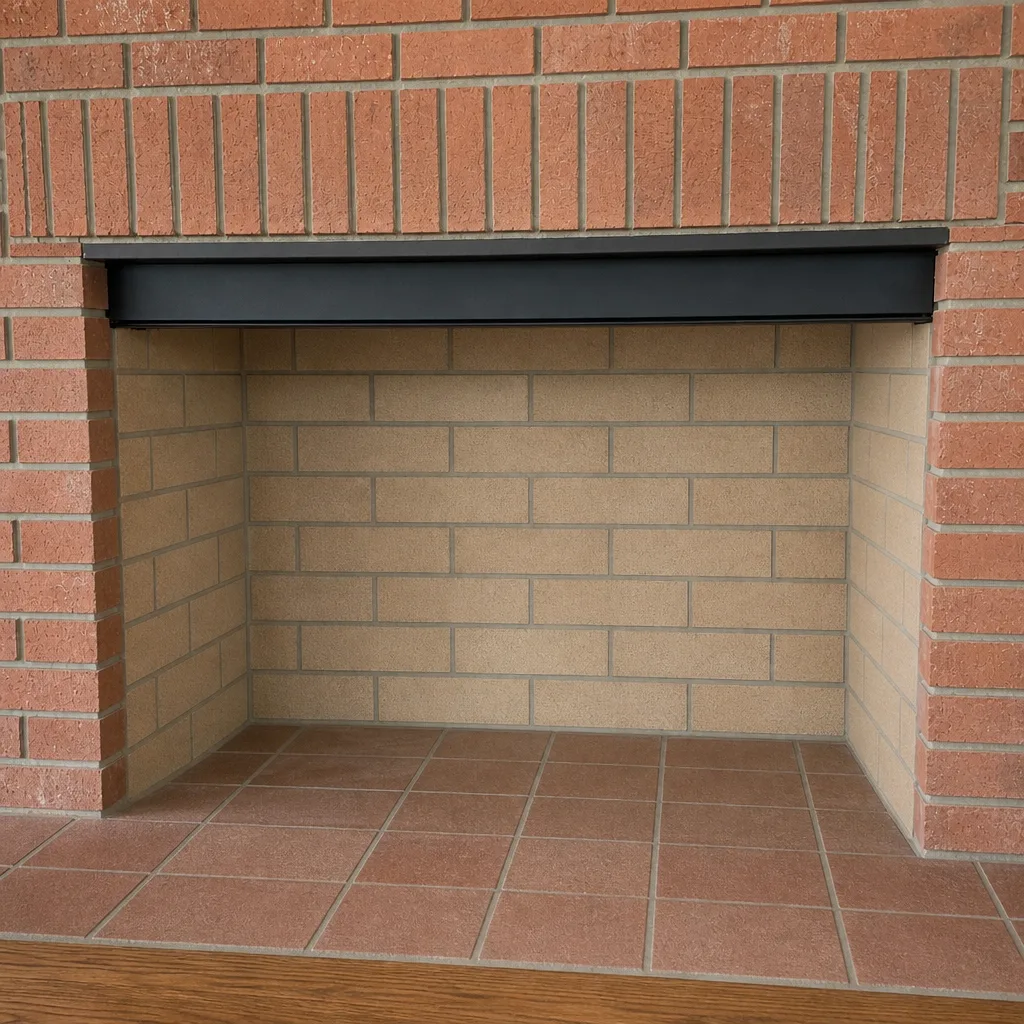 After
When to Call a Professional
Call a professional sweep in these situations:
- You’ve burned a full season or more since the last professional sweep.
- Your glass doors blacken quickly or your fires smoke at startup.
- You see glazed or tar-like deposit anywhere you can inspect.
- Your chimney has an offset, a liner transition, or a factory-built fireplace.
- You’ve never had the flue inspected with a camera.
- You’re selling or buying a home and need documentation.
- You have a dryer and haven’t had the vent cleaned.
Chimney Sweep Meridian offers free estimates in Meridian. We inspect with a camera before we recommend anything, and we tell you plainly when work can wait. Call (866) 361-7607. We answer 24/7. Fast dispatch from 7am to 7pm, Sunday through Friday.
Frequently Asked Questions
Sometimes. A straight flue with sound clay tile and light Stage 1 soot can be brushed by a careful homeowner. If your flue has an offset, a liner transition, a prefab fireplace, or glazed Stage 2 creosote, a brush alone won’t clean it safely or completely. The dependable test is a camera inspection, which is the part a DIY kit can’t provide.
Look at the flue from the firebox with a strong light. Stage 1 is flaky, gray-black, and crusty. Stage 2 is hardened, glazed, and tar-like, and it clings to the tile surface. If it looks wet or shiny rather than powdery, you’re likely seeing Stage 2, which needs chemical treatment and mechanical rotary cleaning to remove. That’s a professional job.
Only if you count the brush and rods and nothing else. A proper homeowner kit with a camera, HEPA vacuum, and rotary system runs $1,000 to $2,500, more than a professional sweep costs, and it still won’t produce the inspection record. Professional sweeps are priced per job by written estimate, and the estimate is free.
Once a year is the baseline for a home that burns regularly through the season, and Meridian’s long heating season is a reason to stick to it rather than stretch it. Homes that burn heavily, burn damp wood, or heat primarily with wood may need more frequent cleaning. A professional visit that includes an inspection will tell you what the deposit load actually looks like.
Deposit accumulates, and the stage climbs. Stage 2 creosote is what fuels a chimney fire, and a flue packed with it is a genuine fire risk. On the gas side, a blocked or damaged flue can let carbon monoxide back into the home. The cost of a skipped year usually shows up as a more expensive cleaning or repair the following year, not as savings.
You need a new liner only when the camera shows damage a liner will fix. Cracked tiles, separated joints, or a deteriorated existing liner are legitimate reasons. A camera inspection lets you see the evidence for yourself, and a professional should never recommend liner work without it. If you’re unsure, get a second opinion with a camera report, and ask plainly whether the repair can safely wait.
The Bottom Line
DIY chimney cleaning is a real option in narrow circumstances: a straight, sound flue with light Stage 1 soot. Outside those circumstances, the brush-and-rod approach isn’t cleaning the flue, it’s giving it a surface pass. The deposit that matters lives where a camera sees it, in the offset pocket, the liner transition, the prefab inner liner, and the glazed Stage 2 layer a brush won’t touch. The honest division of labor is straightforward. Watch the flue between visits, check the cap and damper, note how the fire burns, and leave the flue itself to a professional with an inspection camera and the right materials. That’s how a Meridian home stays warm through a long heating season without turning the chimney into the risk nobody looked at. Chimney Sweep Meridian handles the full arc, sweep, repair, and dryer vent, with the rights parts on hand and a camera report you can read yourself. Call (866) 361-7607 for a free estimate. We answer 24/7. Fast dispatch from 7am to 7pm, Sunday through Friday.
Written by the team at Chimney Sweep Meridian.